

How To Sew Amigurumi Parts Together

![]()
Want to learn how to brand ambrosial crocheted blimp animals with an easy online workshop – totally free?
Sign up for Permit'due south Brand Amigurumi here. You lot'll learn how to go started, the tools and supplies you'll demand, and how to make an easy amigurumi from showtime to finish using elementary crochet stitches.
It's a fun, inexpensive, and totally portable craft. Yous tin do it!
![]()
Well-nigh people tell me that they've got a handle on the crocheting part… but when it comes to assembling amigurumi pieces, they dread it! That makes me sniffle… making amigurumi should be 100% fun!
And then, in this mail, I'll bear witness you how to attach limbs easily and evenly… taking all the stress out of sewing. The play a joke on to easy attaching is planning out your placement ahead of time. It's a easy after that!
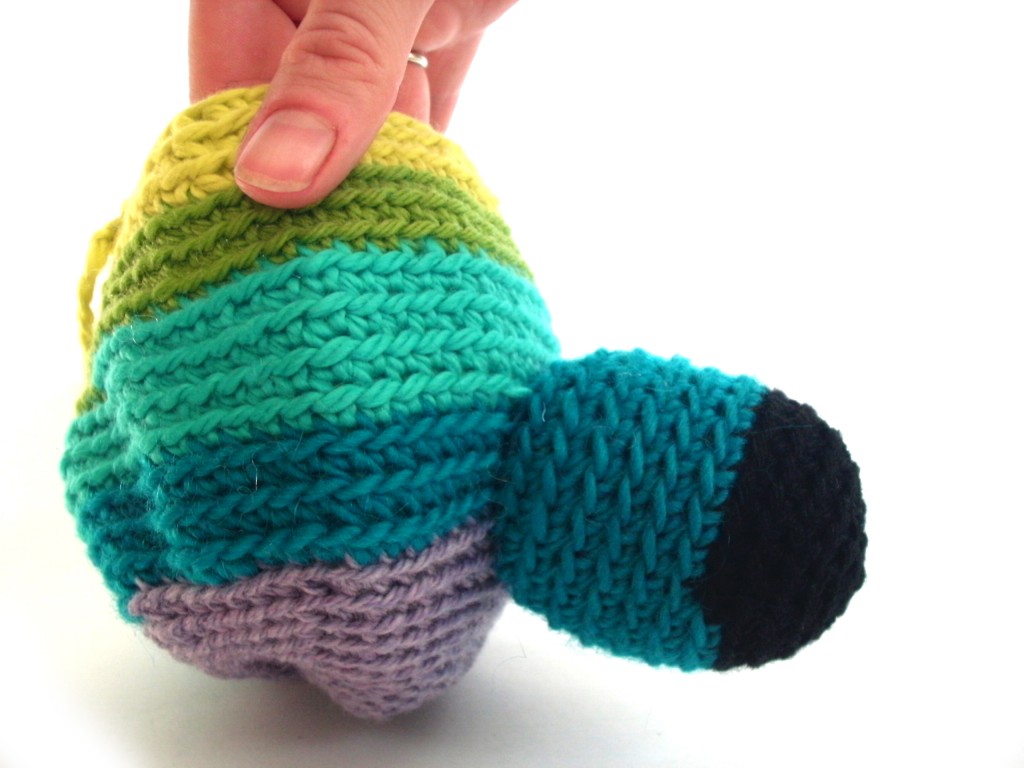
Plan where to attach your limbs
I'm making Jackie the Cow and I'yard nigh to attach the legs and artillery.
The instructions say, "Attach legs to rounds 9-14."
Of course, this is just a suggestion! You can adhere limbs wherever yous'd like… but I've told y'all where I attach mine so at that place's no guesswork on your part!
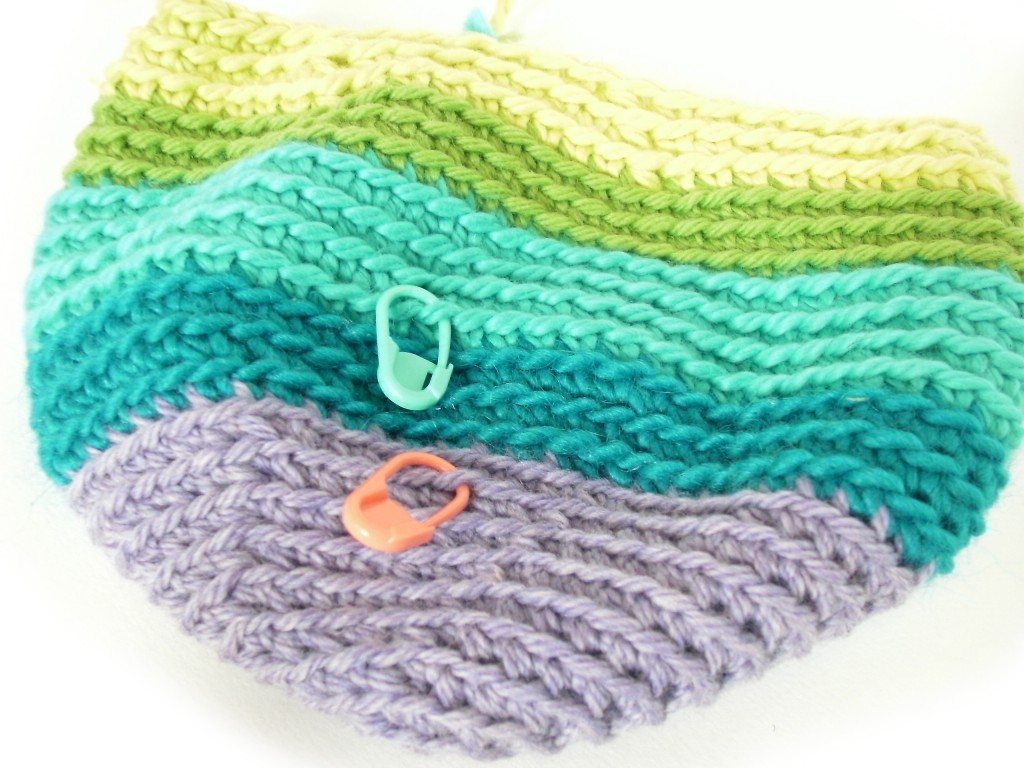
What you want to practice is discover out where round 9 is, and place a locking stitch marker in that location. Start counting (run across the ridges?) from the eye:

Count until y'all're at round 9, and place a marker. Place another at round 14. Now you know where your leg should be located on the trunk!
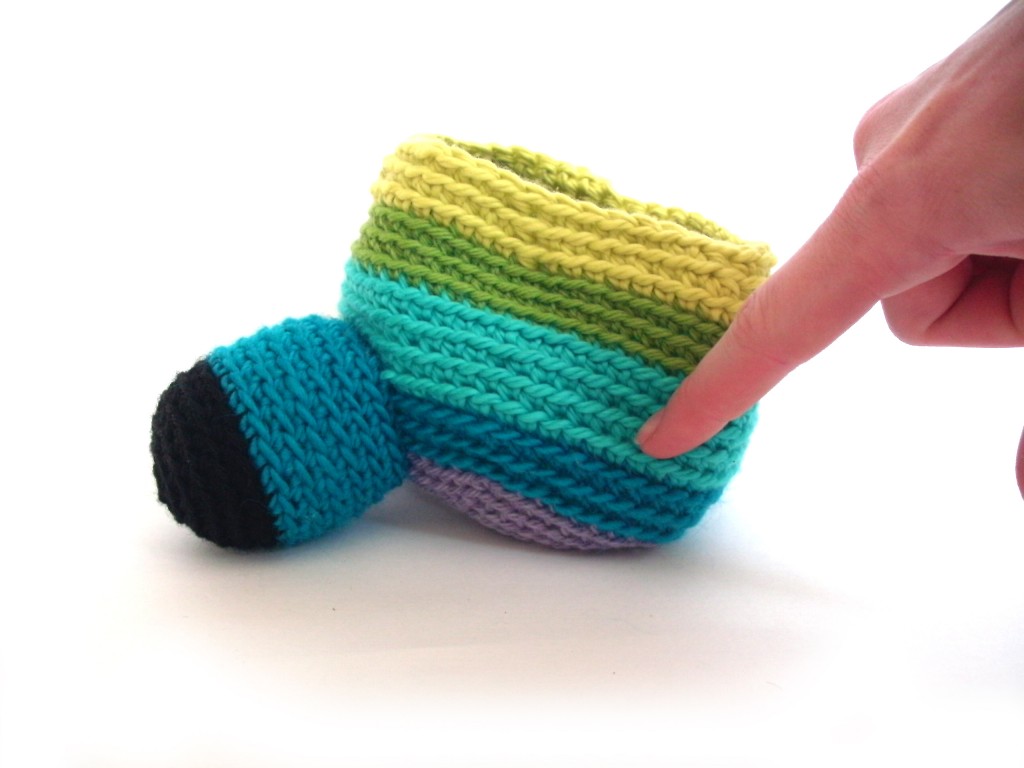
If you observe that your pieces tend to motility effectually a lot when attaching, you might desire to go one footstep further and use locking run up markers to hold your piece in place. The more than you lot ready your pieces, the easier sewing will be!
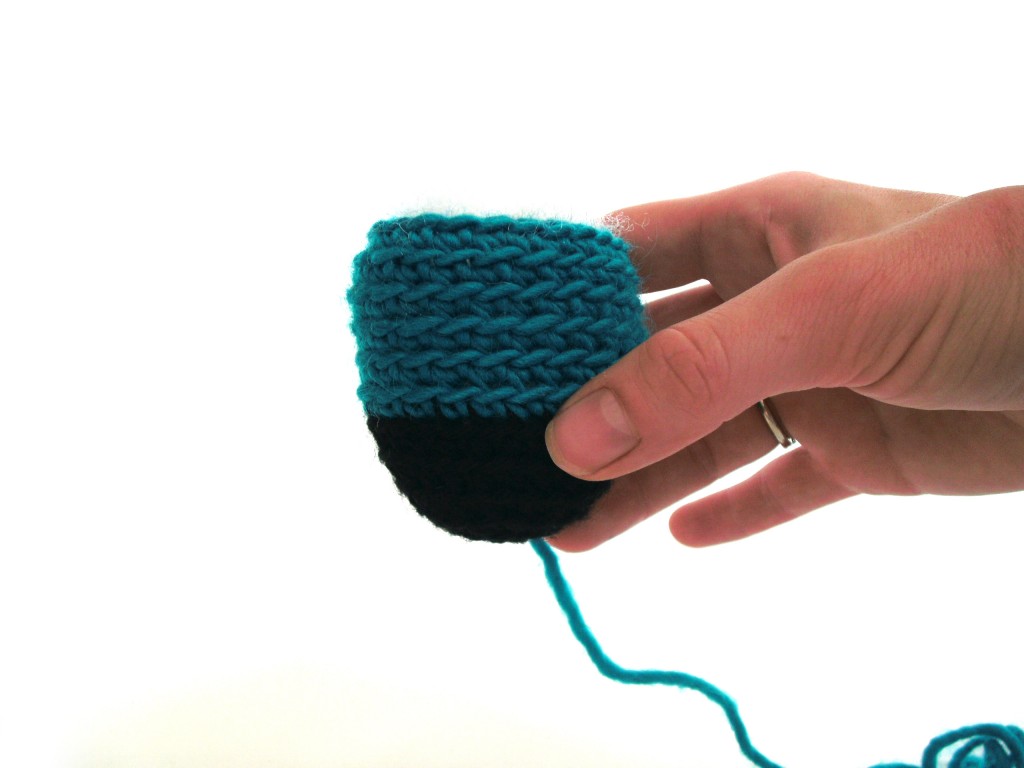
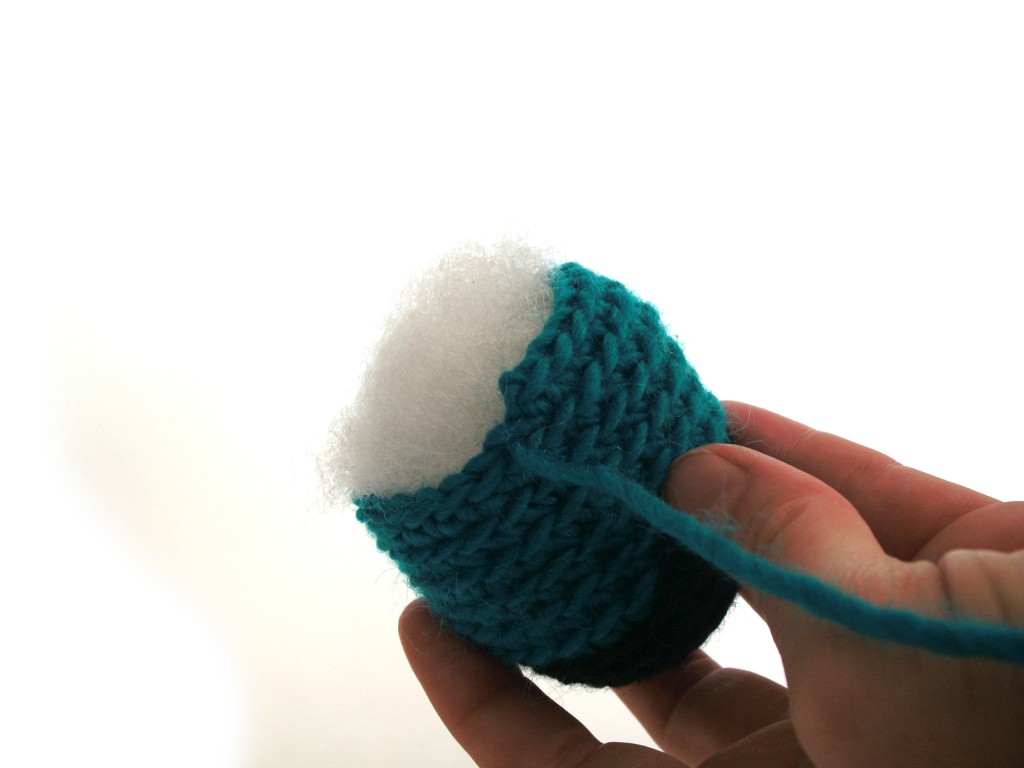
Stuff your limbs
Grab some Polyfill and stuff your limbs:
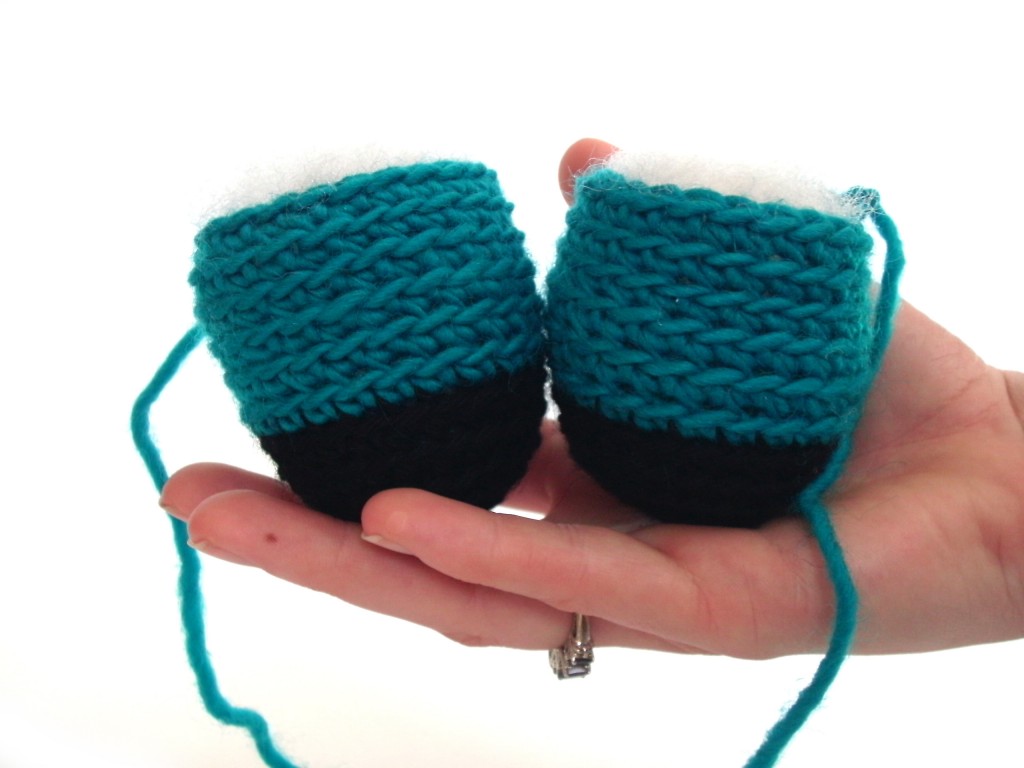
I similar to stuff both legs at once, so I can exist sure they are the aforementioned size:
Sewing!
It'due south non equally hard every bit you lot think… I promise! Nosotros're going to utilize a simple whipstitch to adhere the limbs… the important thing is to permit your guides (the rows and stitch markers) do all the fancy work!
Thread the needle
To begin: thread a tapestry needle with the long tail of a leg. As the get-go step, I like to hide the knot… then I run my needle through the first stitch on the leg:
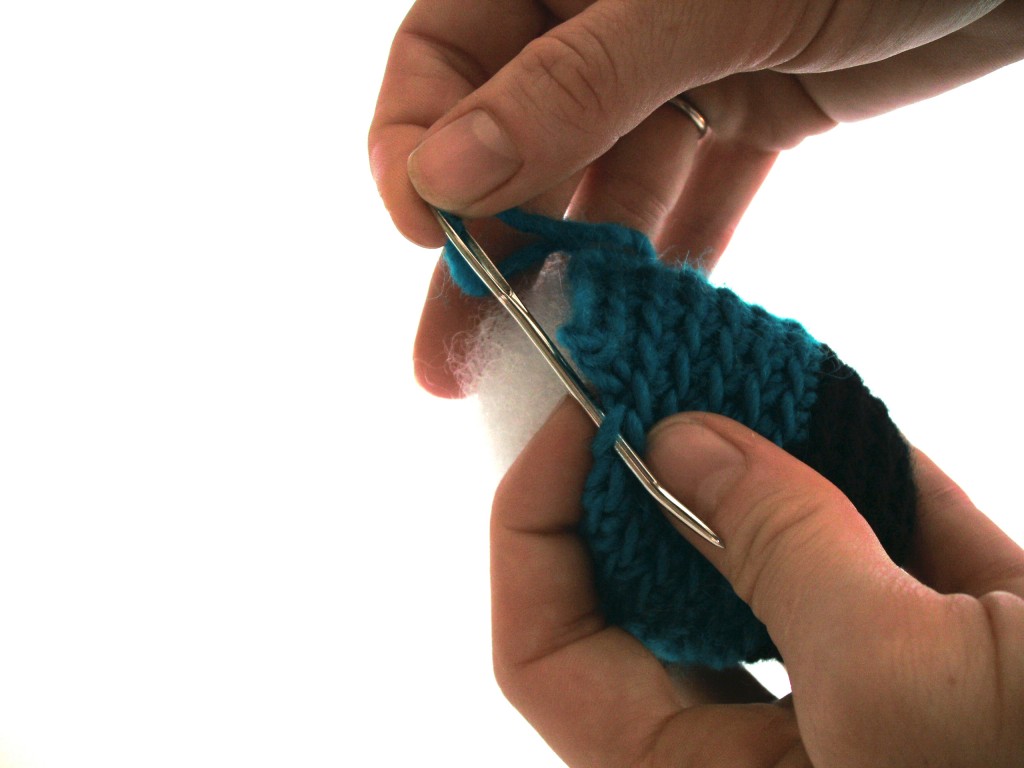
This hides the knot beautifully! See?
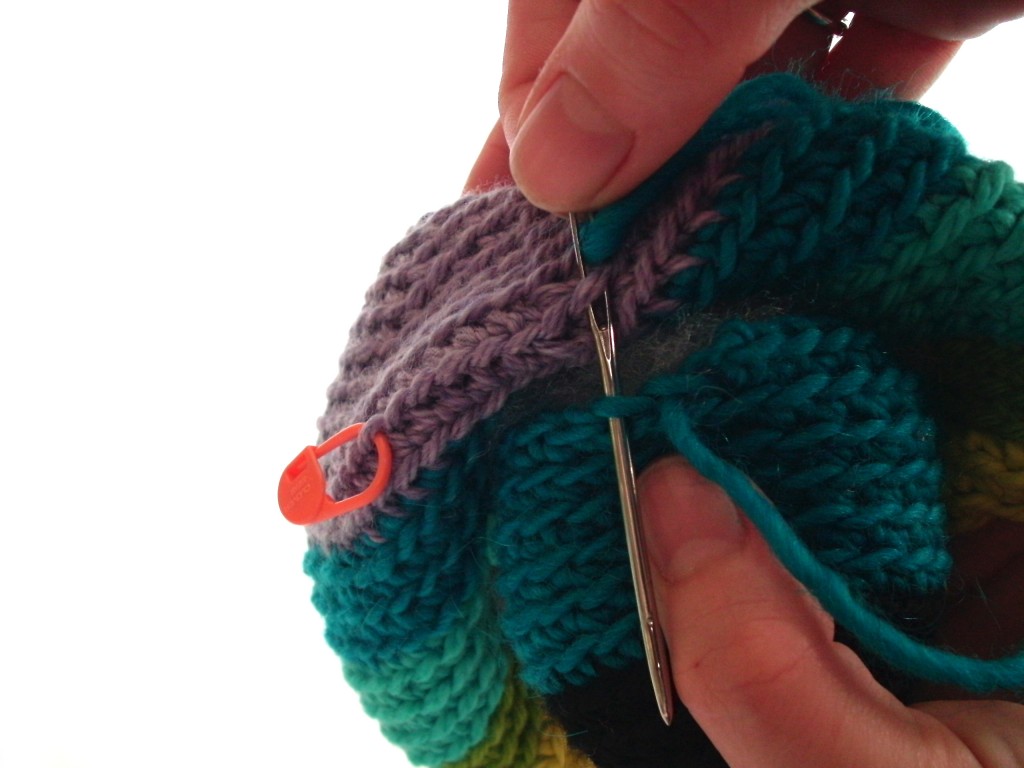
Whipstitch!
The leg that nosotros're attaching has 24 stitches. So, if we attach forth 6 stitches to round 9, 6 stitches going up to round 14, half-dozen stitches on round 14, so 6 stitches going back down to round nine… the leg will exist attached evenly! Then, begin by threading the needle through i sew together on the body and one sew together on the leg:
That's information technology! You did a whipstitch! Check out this little video if you want to see it in action:
Go along to do 6 stitches on round 9… and so keep stitching (sorta turning xc degrees) to get to round 14. See? You're using the stitches on the torso to guide you! Easy!
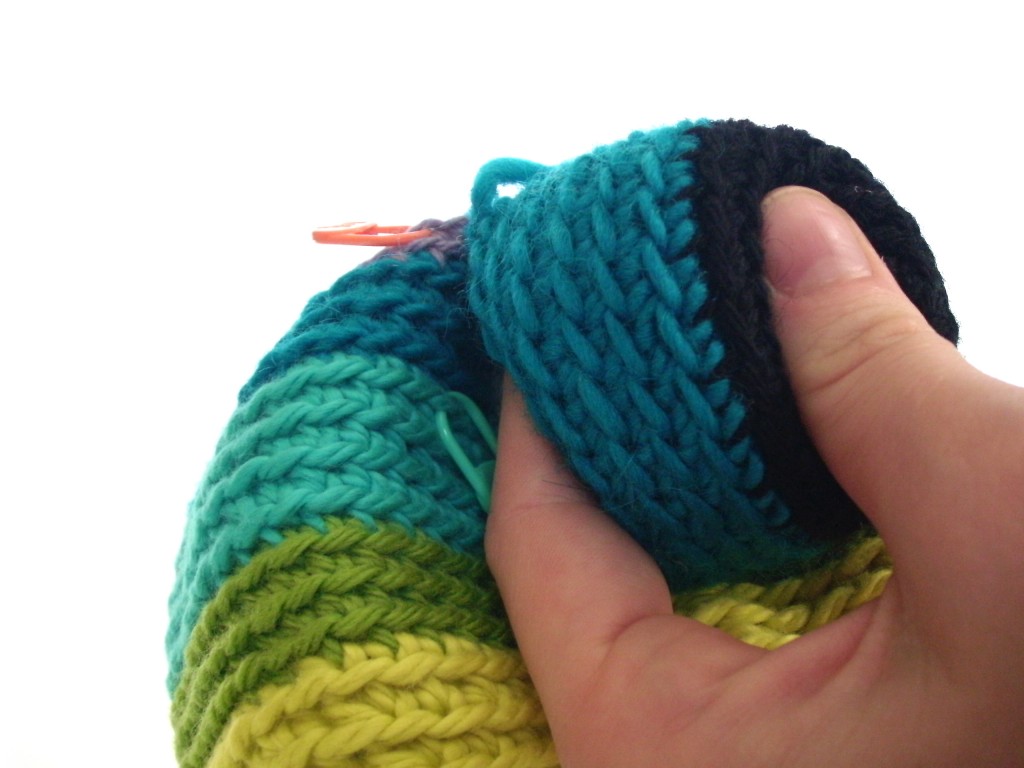
Every bit long every bit you keep attaching one stitch of the trunk to one stitch of the leg, you'll stay on rails!
Go along all the way around, and tie a knot on the inside of your work.
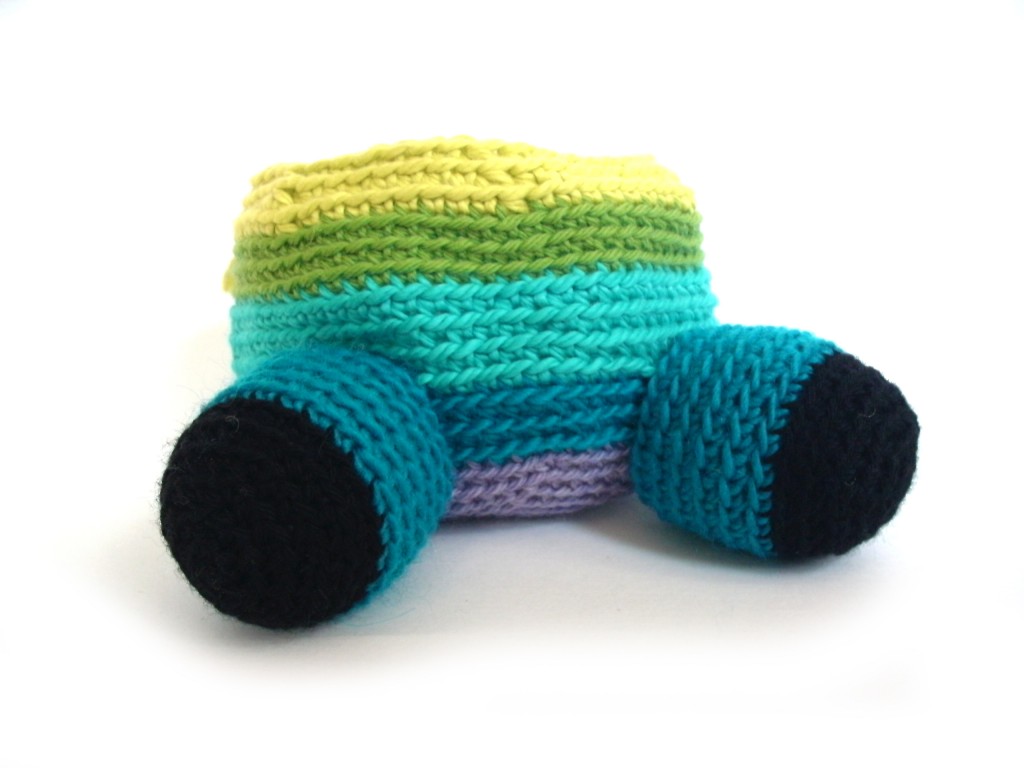
Ta da!
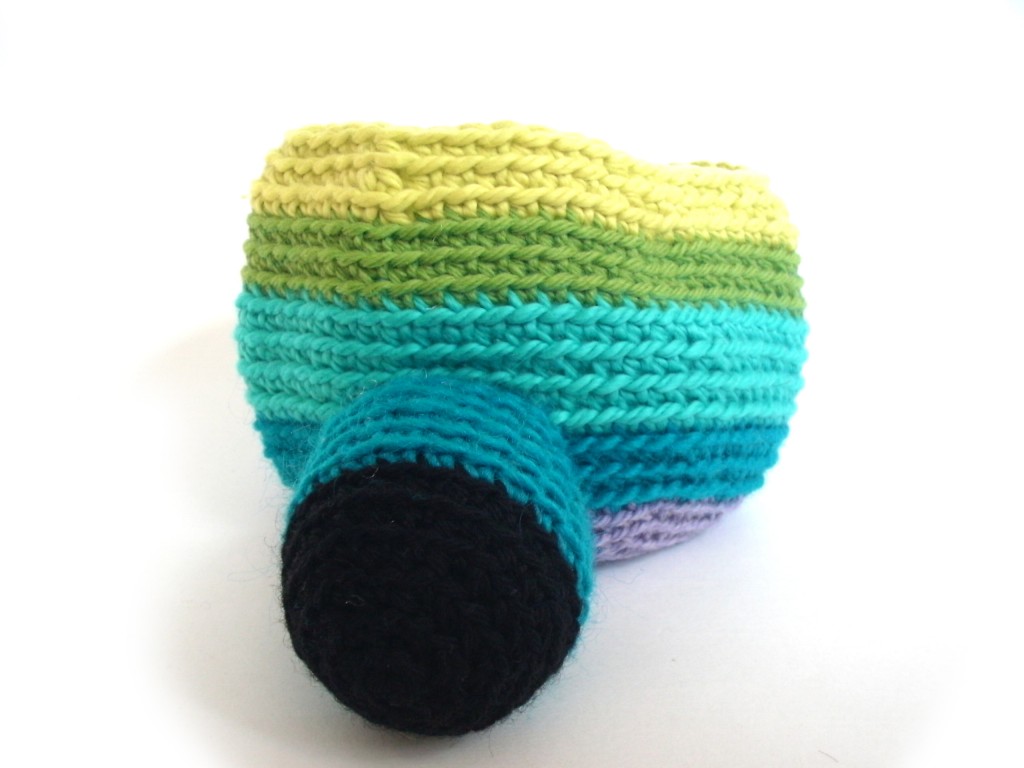
Repeat for second leg
Now, at this betoken, you may want to become picky. Run into how in that location'south a jag in the leg where the colors inverse?
If that jog bothers you… no problem! Merely make up one's mind where to place your second leg so that the jog ends upwardly at the back of the cow! Meet… I'thou going to put my second leg over here (on the other side of the jog), leaving the colour change almost invisible:
Now attach the second leg… same as the outset! Don't forget to place your helpful markers if you need them!
Echo for artillery!
You've got it downward, at present! Adhere the artillery using the same method!
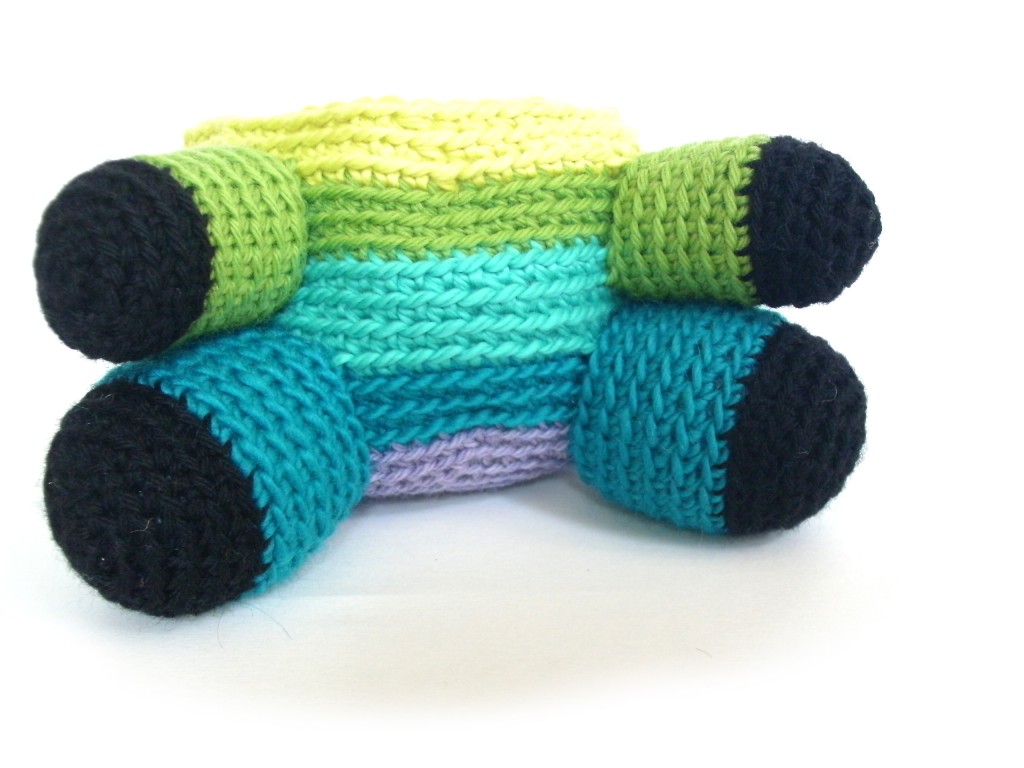
You did it!
That wasn't and then bad, was information technology?
Other Ways to Attach Limbs
There are a few other ways to attach limbs to crocheted softies – each gives a different wait.
Does your pattern tell y'all the flatten the piece and so attach it? Then click over here for this tutorial. 🙂
Does your design tell you to adhere the piece with single crochet every bit you lot stitch? That's my favorite way to attach limbs. The pattern will say sc-attach and you lot can find a video tutorial for that method here.
Happy stitching!


Crochet an adorably cuddly hound dog. Get the blueprint here.
Source: https://www.shinyhappyworld.com/2012/06/how-to-attach-limbs-to-crochet-amigurumi.html
0 Response to "How To Sew Amigurumi Parts Together"
Post a Comment